Portrait Photography Settings For You To Take Better Shots
Finding the correct location is one of the biggest challenges when planning a portrait photoshoot. There are countless options, each with its unique appeal. But how do you choose the best location for photography goals? This article will help simplify the process by exploring portrait photography settings to get better shots.
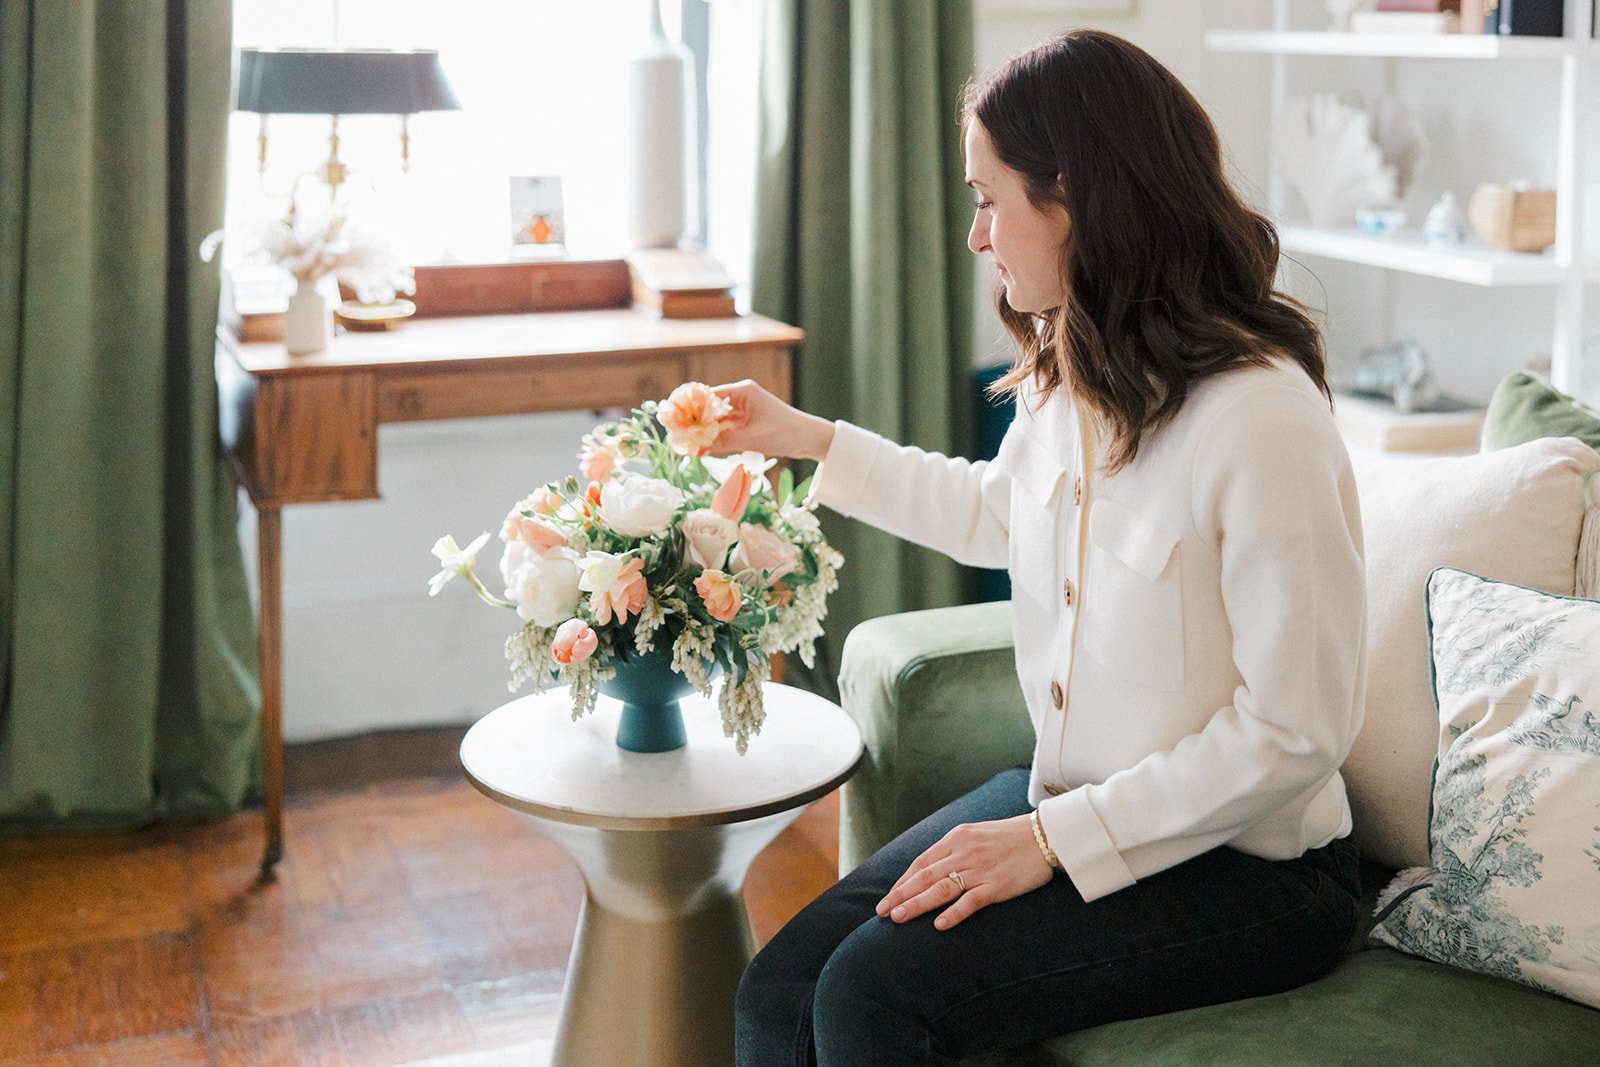
One solution for achieving your photography objectives is renting a styled house rentals for photography. Home Studio List specializes in this niche area of rentals to help you find the perfect home to match your vision.
What is Portrait Photography?

Portrait photography is one of the most common forms of photography. Portrait photography, also called, more often than not, portraiture, is the art of capturing a subject (in this case, a person or a group of people) in which the face, facial features, and facial expressions are made predominant.
Portrait photographers aim to focus on the person’s face. They emphasize the face because this will also be the focus or emphasis of the photograph. This does not mean the person’s body or background will no longer be included.
Types of Portrait Photography
Under portrait photography, these can still be included in the photo by the photographer. Still, again, the focus or emphasis should be on the person’s face, facial expression, and even distinct facial features. Depending on the portrait's subject and style, there are various types of portrait photography.
For example, some portraits are more traditional and formal for professional use and publication. Other types of portraits are more casual, such as lifestyle portraiture that captures subjects in everyday life. Common types of portrait photography:
Traditional portraits
Lifestyle portraits
Related Reading
Portrait Photography Settings For You to Take Better Shots

Aperture plays a crucial role in exposure and depth of field. Measured in f-stops (such as f/1.8, f/2.8, or f/4), this setting controls how much light enters your lens and influences how much of the image is in focus.
Aperture: Depth and Artistic Blur
Wider apertures (lower f-stop numbers like f/1.8) create a shallow depth of field, ideal for portraits, as they keep the subject sharp while beautifully blurring the background. Going too wide (such as f/1.4) can lead to parts of your subject falling out of focus, especially when using longer focal lengths like 85mm. A range between f/2.8 and f/4 offers a safe balance for sharp, vibrant results.
If photographing larger groups or full-body shots, close the aperture around f/5.6 or f/8 to ensure everyone remains focused.
Shutter Speed: Keeping It Sharp
Shutter speed controls how long your camera’s sensor is exposed to light. In portraits, it’s mostly about avoiding motion blur. As a rule, start with 1/100 or 1/125 seconds for still subjects. If your subject is more active, children, pets, or candid moments, boost it to 1/250 or faster.
In low-light settings, resist the urge to lower your shutter speed too much. Instead, consider adjusting your ISO or adding supplemental lighting to maintain sharpness.
ISO: Managing Light Sensitivity
ISO adjusts your camera’s sensitivity to light. While higher ISO values brighten your image, they also introduce noise and grain. For portraits, where detail matters, stick with the lowest ISO possible, usually ISO 100 in daylight. Indoors or in dimmer conditions, values around ISO 400 to 800 often strike the right balance.
Avoid pushing ISO beyond 1000 unless necessary, as noise can significantly degrade portrait quality, especially in shadows and skin tones.
Camera Mode: Full Control vs Guided Freedom
You can shoot portraits in Manual (M) or Aperture Priority (A or Av) mode. Manual mode gives you complete control over all settings, which is ideal for professionals or those looking to develop deeper photography skills.
Aperture Priority allows you to set your desired aperture (depth of field), while the camera handles shutter speed and ISO for optimal exposure. It’s a popular portrait choice, especially in dynamic environments or shooting quickly.
Focus Mode: Staying Sharp Where It Matters
Modern cameras offer a range of autofocus modes. For portraits, Single Autofocus (One-Shot or AF-S) is perfect for static poses, while Continuous Autofocus (AI Servo or AF-C) is best for moving subjects, candid shots, or children.
Where available, using eye-detection autofocus is also a game-changer for portraits, ensuring the subject’s eyes remain tack-sharp.
White Balance: Natural Skin Tones
White balance adjusts your image’s colour temperature, ensuring whites look white and skin tones appear natural. Different lighting conditions, such as sunlight, shade, or indoor lamps, can drastically skew colours.
Auto White Balance (AWB) performs well in most portrait situations. For creative effects or consistency across a shoot, you can manually adjust the temperature (measured in Kelvin) or use presets like ‘Daylight’ or ‘Cloudy’.
Metering Mode: Accurate Exposure
Metering determines how your camera measures and prioritises light in the frame. The best options for portrait photography include:
Centre-Weighted Metering: Prioritises exposure in the middle of the frame, ideal for portraits
Spot Metering: Focuses on a small area (such as a face or eye), giving you precise control
Matrix/Evaluative Metering: Measures across the frame; practical in complex lighting scenarios but less targeted than the other two
Drive Mode: Taking the Right Shot, Not Just More Shots
While Continuous Shooting has its place in fast-paced environments, Single Shot Mode is generally best for portraits. It gives you time to compose carefully and helps your subject remain relaxed.
Continuous drive mode can be helpful if your subject is changing expressions or poses quickly, but it often results in more photos to sort through during editing.
Image File Format: Flexibility in Post-Processing
Depending on your editing workflow, you can choose between RAW and JPEG. JPEGs are smaller and easier to manage, but they compress image data, reducing your ability to make adjustments.
RAW files, on the other hand, retain all image data, offering far more flexibility during post-processing. Always shoot in RAW if you plan to edit in software like Lightroom or Photoshop.
Natural vs Artificial Lighting in Portrait Photography

In portrait photography, the choice between natural and artificial lighting can dramatically change the look and feel of your images. Natural light, like sunlight, often feels more familiar and flattering because we’re used to seeing the world lit from above.
As photographer Kenton explains, overhead light, like that from the sun, feels instinctively “right” to us. Lighting from below, like a torch under the chin, feels unnatural and even eerie, creating opposite shadows that distort the face.
Using Natural Light in Portraits
Natural light is great for beginners because it’s often softer and easier to work with, especially if you position your subject near a window on a cloudy day. The clouds act as a diffuser, softening shadows and spreading the light evenly across the face. Outdoors, shooting during the golden hour, shortly after sunrise or just before sunset, produces warm, gentle light that helps balance the exposure between your subject and the background.
Midday sun can be tricky. It casts harsh shadows and can result in contrast-heavy images. To work around this, step into open shade next to a building. Light-coloured walls in the shade can reflect light onto your subject, helping fill in dark areas and even out the lighting.
Mastering Portrait Lighting
Artificial lighting, on the other hand, gives you more control. It allows you to shape the light, decide on its direction, and create a consistent look regardless of the weather or time of day. It also requires more technical know-how; the results can look flat or unnatural if not used carefully.
Successful portrait lighting, natural or artificial, is all about observing where your light is coming from and adjusting your setup to flatter your subject. For beginners, it’s best to start with natural light and learn how it behaves before moving into the more complex world of artificial setups.
Shoot-Ready Spaces for Creatives
Home Studio List connects photographers and brands with beautifully styled homes and photography studios available for hourly rentals across 40+ states, eliminating the need to haul props or hunt for perfect natural lighting.
Our curated spaces are styled and shoot-ready, with on-site hosts to ensure a smooth experience from booking to production day. With streamlined booking managed by our Reservation Managers, creatives can focus on their craft while we handle all the logistics:
Simply browse
Book
Show up to shoot
5 Extra Tips to Improve Your Portrait Photos
1. Use the Right Lens for the Job
Choosing the right lens for portrait photography can improve your images significantly. A shorter telephoto lens of about 35 to 85 mm works well for most portraits. These lenses compress perspective, naturally creating a sharp subject with a soft background and minimal dimensional distortion.
If you’re shooting full-body portraits or group photos, consider using a longer lens in the 100 to 150 mm range. These will also create a nice background blur without distortion. Avoid wide-angle lenses for portrait photography as they can distort your subject when shooting up close.
2. Keep the Background in Check
Regarding portrait photography, the background can be just as necessary as the subject. A cluttered or distracting background can distract from the focus of your portrait.
Therefore, you need to choose a background that complements your subject but doesn’t compete with it. A good way to tune down distractions in portrait mode is to select a slightly narrower aperture or enhance the blurriness of the background during post-processing.
3. Lighting Conditions Are Equally Critical
Natural light is usually the best for portraits, but when it’s not achievable, you should work on enhancing exposure manually through artificial lighting and reflectors. Of course, increasing the camera’s exposure is not always a practical solution, as it comes with throwing off the balance of other adjustments.
4. Experiment with Different Settings
One of the main reasons you’re reading this guide is that you want to optimize the camera yourself rather than relying on the automatic modes. As such, don’t be afraid to experiment with different camera settings, such as aperture, shutter speed, and ISO, to achieve the desired look for your portraits.
5. Use External Help for Stabilization
Like light exposure, adjusting the shutter speed to improve shakiness can create other issues. If you’re shooting in low light or have to use a slow shutter speed, a tripod or other stabilization device can be a valuable asset to your work and prevent blurry photos.
Browse Our Spaces for Your Next Shoot Today
Home Studio List connects photographers and brands with beautifully styled homes and photography studios available for hourly rentals across 40+ states, eliminating the need to haul props or hunt for perfect natural lighting.
Our curated spaces are styled and shoot-ready, with on-site hosts to ensure a smooth experience from booking to production day. With streamlined booking managed by our Reservation Managers, creatives can focus on their craft while we handle all the logistics:
Simply browse
Book
Show up to shoot
Browse our spaces for your next shoot today!